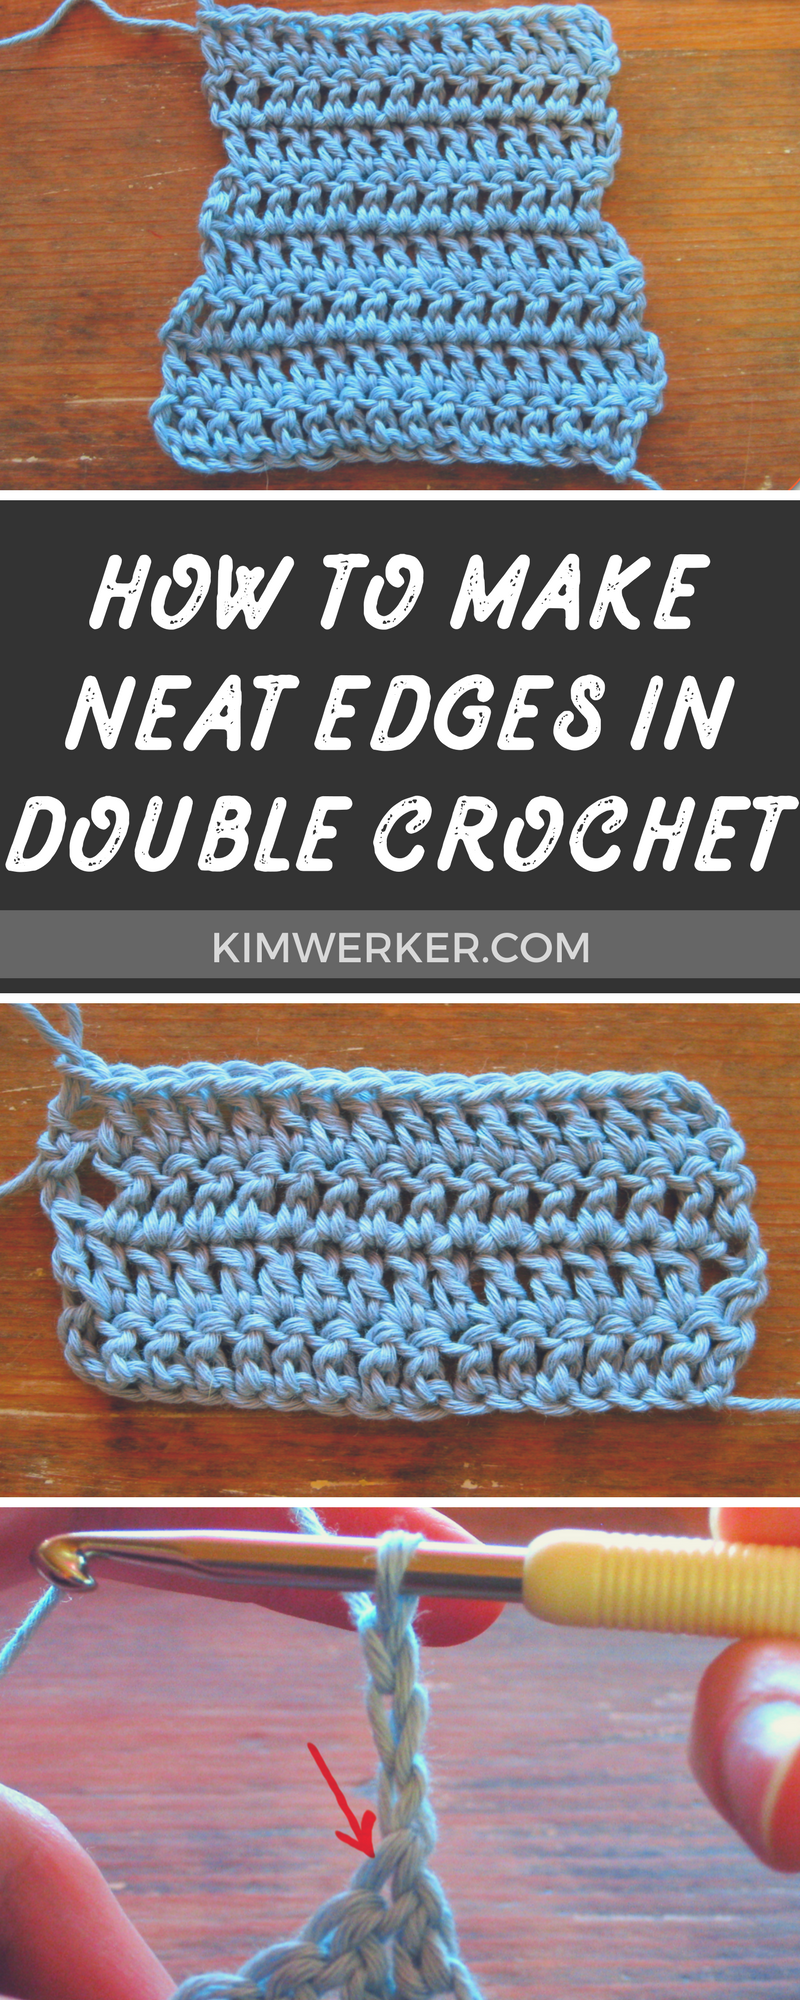
The single most common question I’m asked by students is why the edges of their crochet look awful.
For some reason, many crocheters make their first project in double crochet. I get it, it’s a very common stitch and it’s easy to make.
But the first and last stitches in a row of double crochet can be super duper confusing, which is why it’s so common for edges to look uneven and terrible.
I specifically designed this double crochet tutorial for beginner crocheters, but it’ll be helpful even if you’ve been stitching for years.

Image 1: Here’s what it looks like as you approach the end of a row of double crochet. I’ve circled the tops of the stitches from the previous row that remain to be worked. The most common confusion is where to place the last couple of stitches; it’s very, very common for beginners not to work a stitch in the top of the turning chain from the previous row. So in the circle are the final double crochet (rightmost in the circle) and, to the left of it at the end, the top of the turning chain.


Image 3: I’ve pulled up a loop in the double crochet. The arrow is still indicating the top of the turning chain.

Image 4: I’ve finished the stitch and the arrow is on pointing to the top of the turning chain. See how easy it would be to skip it? After all, it sort of looks like the edge could straighten out after a little tugging. Alas, though, it won’t.

Image 5: Ok, no more arrow. Here I’m about to insert my hook in the top of the turning chain. By “top of the turning chain,†I mean the topmost of the three chains. Notice how I’m using the fingers of my other hand to open that sucker up. It can be tight and/or awkward to shove your hook in there, but persistence will pay off.

Image 6: I’ve pulled up a loop in the top of the turning chain. It’s pretty apparent now that we need to work a stitch here to make the edge straight, eh?

Image 7: Here’s the completed final stitch of the row. There’s nothing to the left of it to stick my hook in, so I’m confident it really is the end of the row.

Image 8: Now we say to “turn your work.†This means to flip it around so your hook is poised to start the next row (in these photos I’m working right-handed, so at the beginning of a row my hook is on the right. If you’re a lefty and you crochet left-handed [hey, not all lefties do!], your hook is on the left at the beginning of a row).

Image 9: Make 3 chains. This is the “turning chain†which serves the function of raising the hook to the height of the stitches you’ll be making. Since double crochet is a fairly tall stitch, most patterns say to “count the turning chain as the first stitch of the row.†This is because that turning chain takes up about as much space as a double crochet. Since we’re counting it as the first stitch, we work the first actual double crochet into the second stitch of the row, not the first. (If we work it into the first stitch, the edge will bulge out and look wonky.) The arrow is keeping track of that first stitch that we’re going to skip before making the first double crochet.

Image 10: This might be a confusing photo. If it is, ignore it. I’m inserting my hook in the second stitch, and the arrow is pointing to the skipped first stitch.

Image 11: Ok, this is better. Here I’ve pulled up a loop for the double crochet, and the arrow is pointing to the first stitch which I didn’t insert my hook into. At the very right, you can pick out the chains of the turning chain; see how they’re pretty much rising from that first stitch? That’s why we skip it before working the first double crochet.

Image 12: I’ve completed the double crochet and the arrow is still indicating the first stitch from the previous row. So even though I’ve only worked one double crochet, you can see it looks like we actually have two stitches made. This is why we count the turning chain as a full-on stitch.

It’s entirely possible that my familiarity with crochet has prevented me from really getting to the heart of any confusion you might have. Please leave a comment with any questions I haven’t answered—or that, eep, I’ve introduced—and I or someone in the community will chime in to help you out.
And promise me something, eh? In a few months when a friend begs you to teach them how to crochet, start with single crochet, wouldya? The last stitch of the row can still be tough to place, but at least you won’t have to contend with the turning-chain-counts-as-a-stitch thing.
Want to up your double crochet game with a super simple zig zag project? Learn how in my class, Zig Zag Crochet: A Beginner’s Guide to Ripples and Waves!

Leave a Reply